Customizing the Shopify Order Confirmation Page
Below you’ll find a variety of useful snippets and techniques that you can use to customize the Shopify Order Confirmation page (AKA the “Order Status” page).
In this guide:
- A wrapper script to fire custom conversion / ad pixels only on the first page load
- Add a custom message to checkout confirmation
- Customize the messages / placeholder text in the checkout
- Add an optional, one-click survey question to the Confirmation Page
- How to test customizations made to the Order Confirmation page
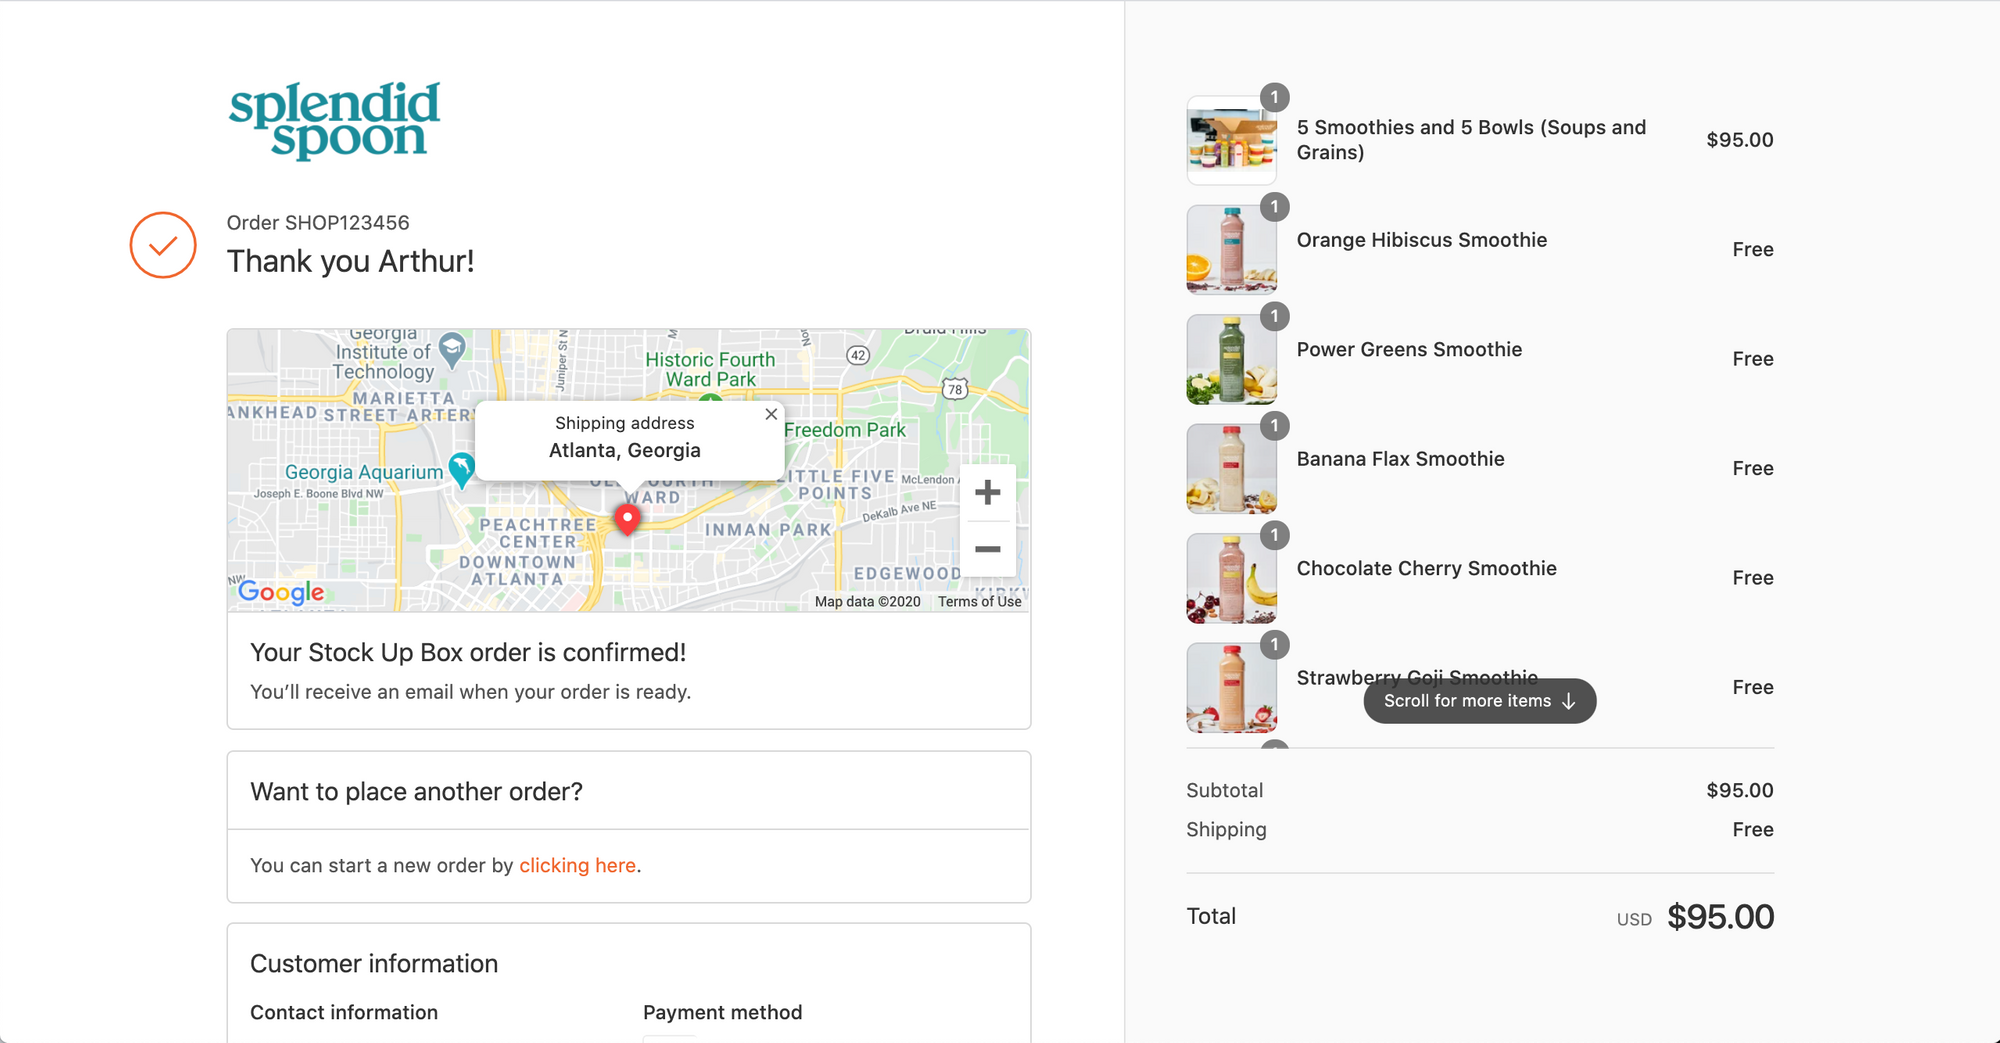
When do customers see the Order Confirmation page?
Your customers will see the Shopify Order Confirmation page in two locations on their Customer Journey:
-
When a customer first completes their order (this is when Conversion Pixels and Scripts should fire).
-
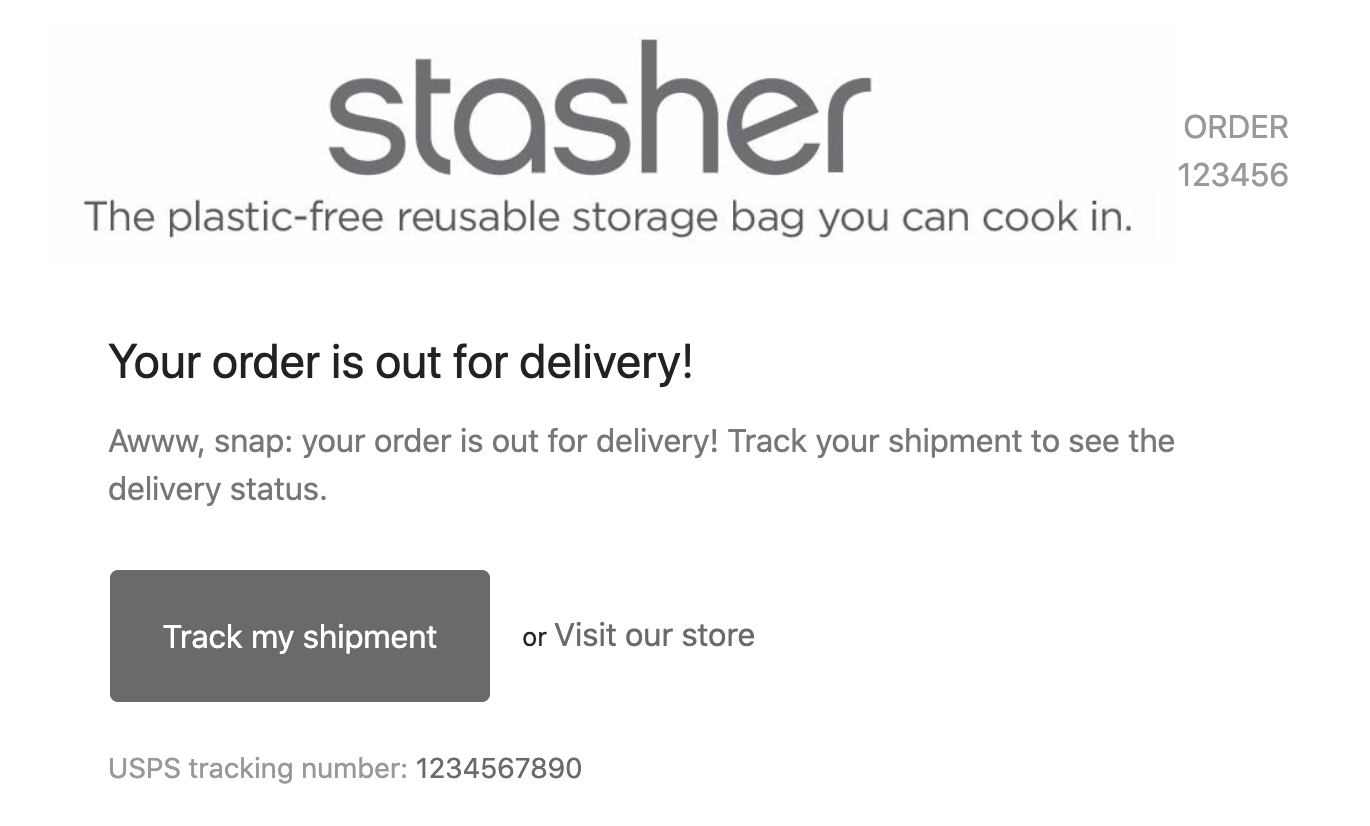
When a customer comes back to check on the status of their order and shipping information. Shopify’s default Order Confirmation and Shipping Confirmation emails include a “Track my shipment” button that takes them back to the Order Confirmation page.
Important note on Post-Purchase Upsell / Cross-Promotion apps
If you’re using a post-purchase Upsell or Cross-Promotion app, you’ll run into a different set of tracking pixel options than explained in this article.
Elevar, one of my top recommendations for support with Ecommerce Analytics (they are truly excellent), has a Post Purchase Upsell Tracking guide to help you navigate this alternate world where post_purchase_page_accessed and first_time_accessed work together.
You can also review Shopify’s official documentation for Pixel tracking on the post-purchase page.
I highly recommend that you review the above guide + documentation, even if the company whose app you are working with has told you that they have migrated your existing conversion / tracking scripts as part of their installation process.
Customizing your Shopify Order Confirmation page
###
1. A wrapper script to fire custom conversion / ad pixels only on the first page load
For most conversion / ad pixels that you add to your store, you’ll want to ensure that they only fire the first time a customer arrives on the Order Confirmation page.
If the following custom code is not added, your conversion scripts / pixels will fire each time a customer visits to see the status of their order. This can cause lots of confusion for fellow Marketers and there’s no easy way to reverse the damage once duplicate transaction data has been sent to external ad platforms.
The fix is straightforward, wrap your conversion scripts / pixels in this official Shopify snippet.
Add this content to the “Confirmation Scripts” section of Checkout Settings – yourstore.shopify.com/admin/settings/checkout
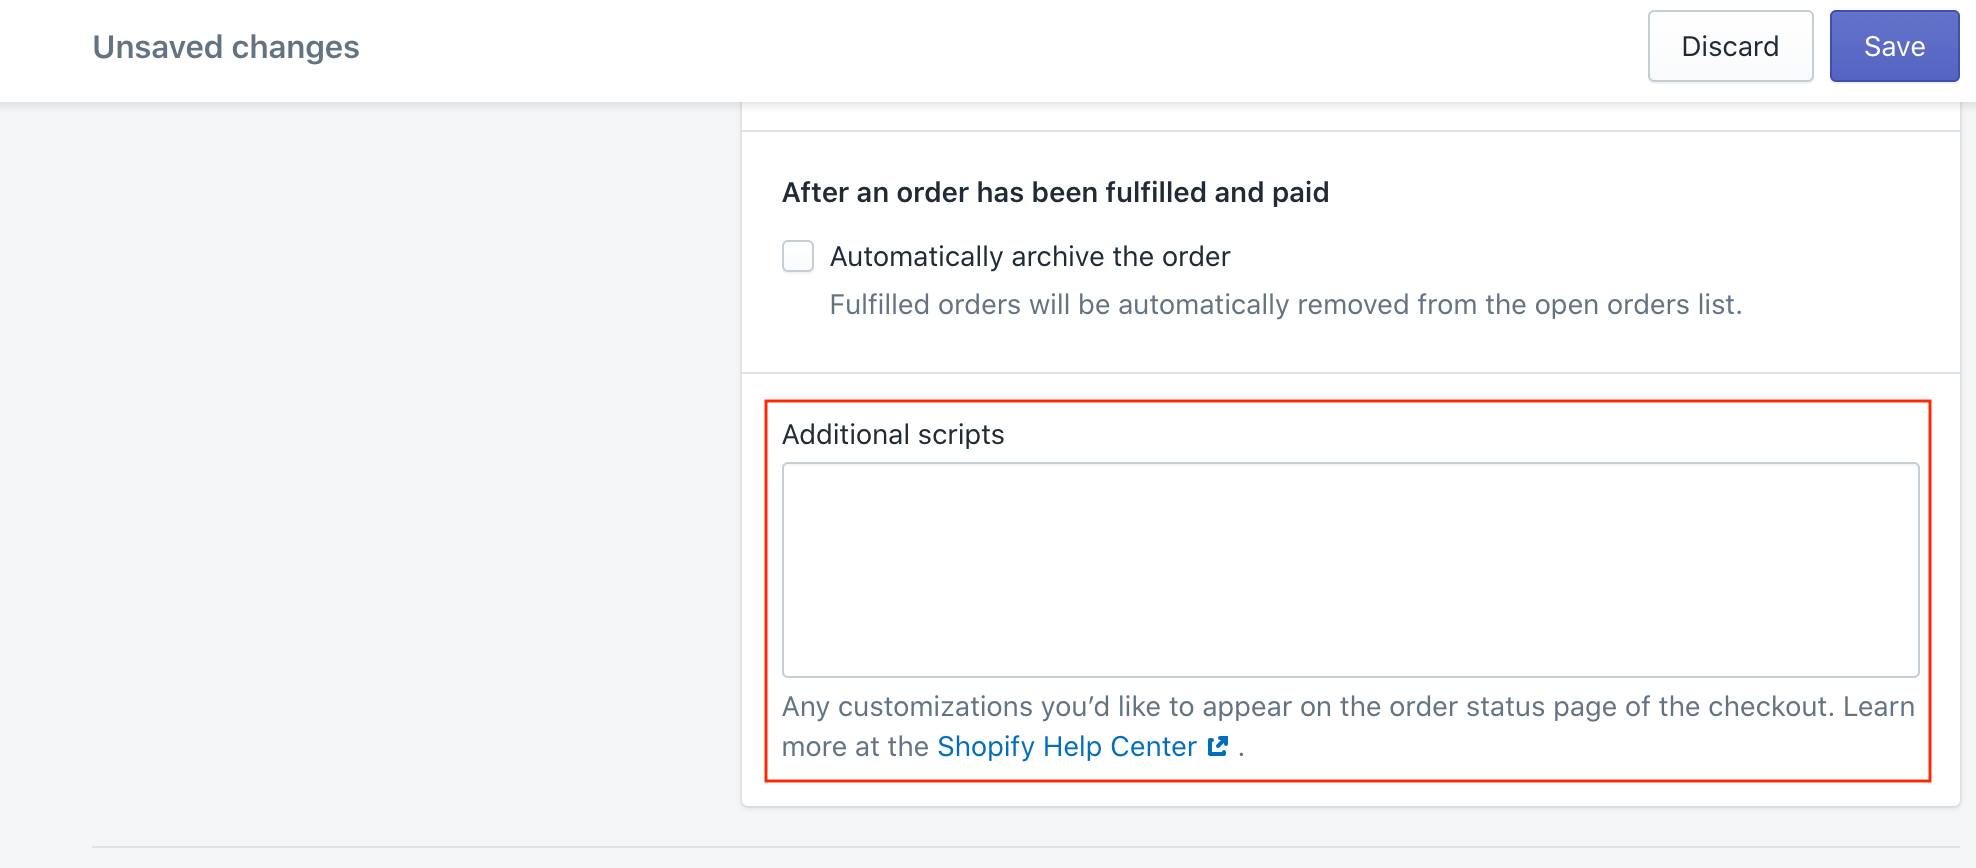
Heads Up: There’s no built-in version control on this content in the Shopify admin panel, so I highly recommend that you use GitHub Gists or a dedicated “Shopify Admin Content” GitHub repo to keep track of this Additional scripts content.
2. Add a custom message to checkout confirmation

To add a custom messaging section to the confirmation page, you can add the following script to the Additional scripts field in Checkout settings.
Note that this script would go in the “Scripts you want to run on every visit to confirmation page” section of the conversion script wrapper logic.
<script>
Shopify.Checkout.OrderStatus.addContentBox('<h2>Pick-up in store</h2>',
'<p>We are open everyday from 9am to 5pm.</p>')
</script>
This field supports liquid, so you can use snippets like Thanks again, customer!
Shopify provides some additional variations on this in their help center documentation:
- Show content based on an order for a particular product
- Show content based on shipping method
- Show content based on customers’ locations
3. Customize the messages / placeholder text in the checkout

Want to update the default copy in the Shopify checkout flow and Order Confirmation page?
There’s no need to add custom HTML or JavaScript to update the default system text that appears throughout the checkout process. To customize messages / placeholder text throughout checkout, use the Shopify Language Editor.
This can be found under Online store > Themes > Actions > Edit languages
Here’s a step-by-step guide to making changes to text on the Order Confirmation page.
4. Add an optional, one-click survey question to the Confirmation Page
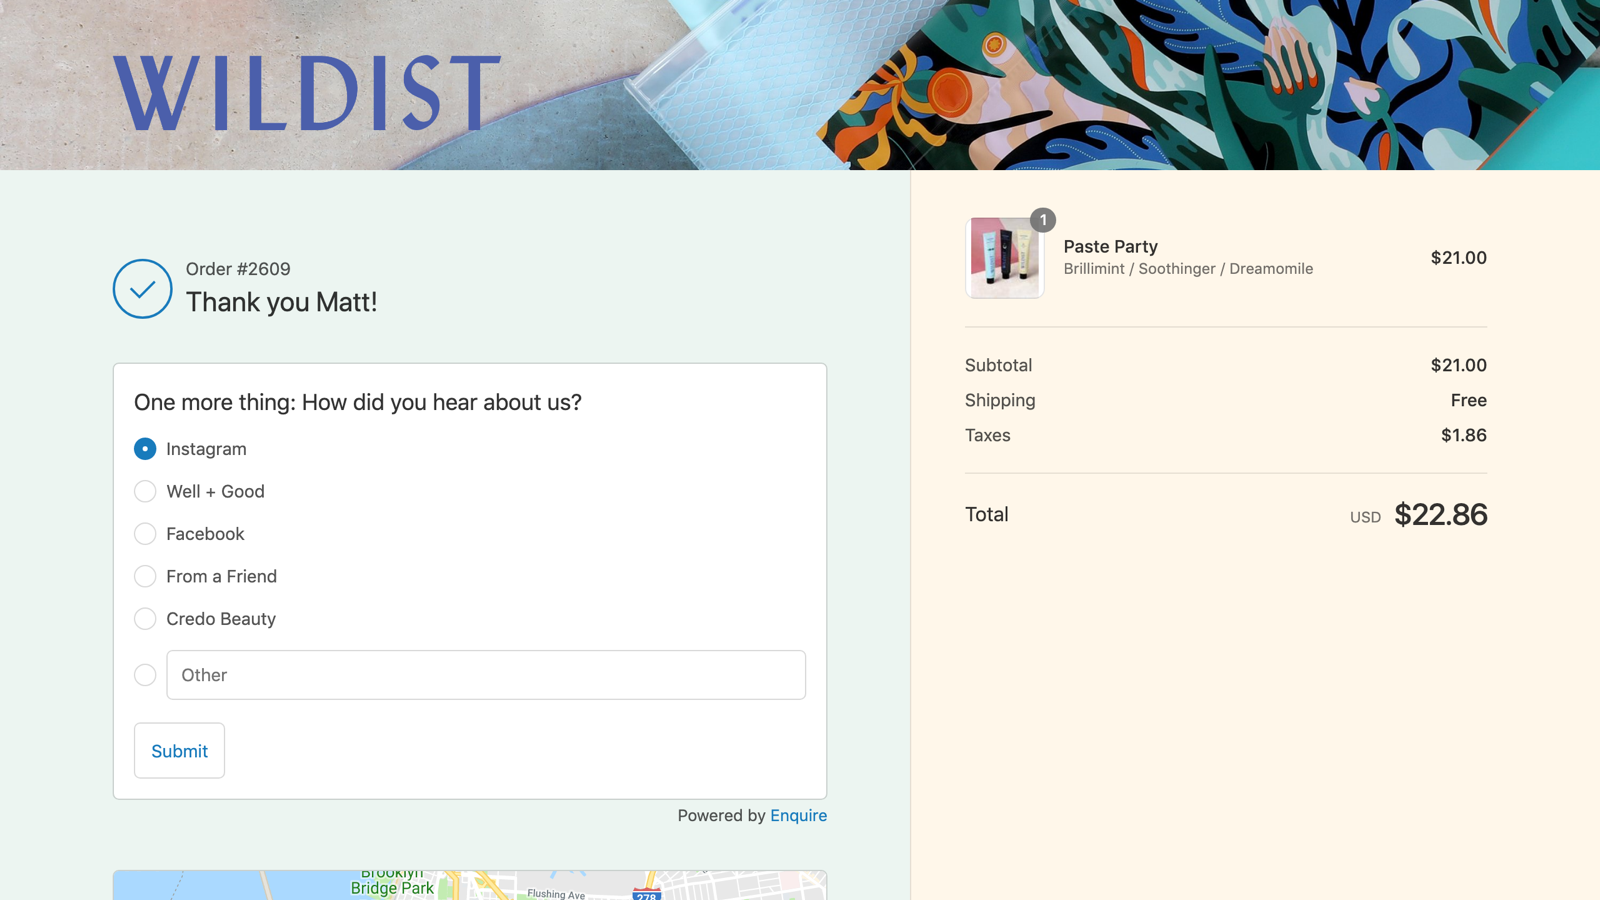
I highly recommend the Fairing (previously named Enquire) Shopify app for this: https://apps.shopify.com/fairing
If you’re looking for more flexibility in survey logic, you can embed a HotJar survey or TypeForm and pass through Shopify email + order ID as Hidden Fields. Example:
<a class="typeform-share button" href="https://YOUR-STORE.typeform.com/to/FORM-ID?order_id=&email_address=" data-mode="popup" data-auto-open=true data-hide-headers=true data-hide-footer=true data-submit-close-delay="5" target="_blank"> </a> <script> (function() { var qs,js,q,s,d=document, gi=d.getElementById, ce=d.createElement, gt=d.getElementsByTagName, id="typef_orm_share", b="https://embed.typeform.com/"; if(!gi.call(d,id)){ js=ce.call(d,"script"); js.id=id; js.src=b+"embed.js"; q=gt.call(d,"script")[0]; q.parentNode.insertBefore(js,q) } })() </script>
How to test customizations made to the Order Confirmation page
Test what an Order Confirmation page looks like for a specific customer’s order:
If you’re looking to simply preview what an Order Confirmation page looks like for a specific order, you can use a built-in Shopify feature available on all orders.
This is a great way to confirm visual changes that you may have made, like changes to the wording on the Confirmation Page, the addition of a post-purchase survey app like Fairing, etc.
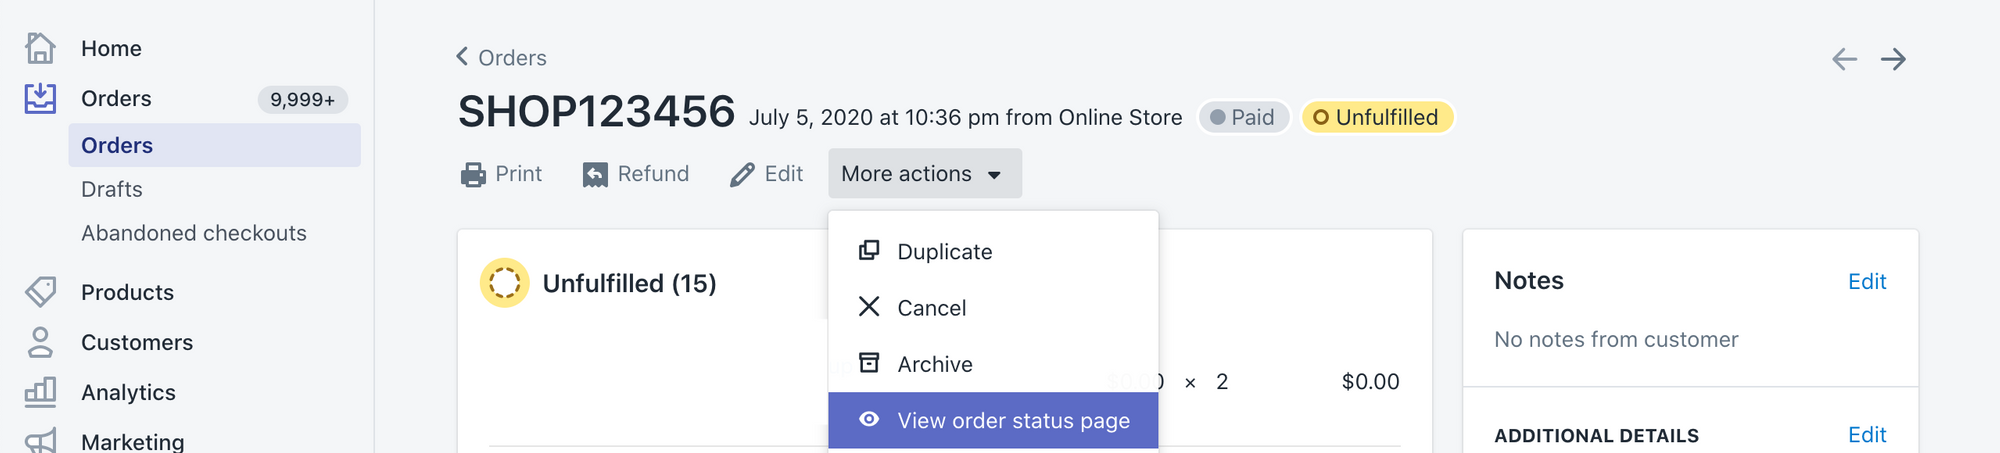
When viewing any individual order, select “View order status page” from the “More actions” dropdown menu and you’ll be able to see exactly what that customer sees when they click on the “Track my order” button in their Shopify Order Confirmation email.
An important note: No need to worry about throwing off your analytics or ad conversions by using this impersonation tool. Shopify’s built-in Google Analytics and Facebook Pixel integrations will only fire on the customer’s original visit to the Order Confirmation page.
As long as you’re using the if first_time_accessed liquid helper, any additional scripts or pixels that you may be firing in the Additional scripts section of Shopify checkout settings will also be ignored when using this impersonation mode.
Test that your conversion scripts and/or Liquid variables are outputting correctly on the Order Confirmation page
Testing conversion scripts and verifying the output of Liquid variables without placing a test order requires us to get a bit more creative, but it’s still a straightforward process.
As an example, let’s imagine that you recently added an ad script or pixel that required you to pass through Order Total () and Order Number ().
To confirm that your Liquid tags will output the correct values when a customer hits the Order Confirmation page when they complete an order, you can output the values in a hidden div element on the page.
The trick here is to add the snippet that you want to test in the Scripts you want to run on every visit to confirmation page section of the confirmation scripts snippet.
Once these are added to the Additional scripts section of the Checkout settings, you can use the method above (“Test what an Order Confirmation page looks like for a specific customer’s order”) to view the confirmation page. Hit “View Source” and do a “Command/Control + F” for the unique ID (“search-for-me” in the snippet above) to see the values that will be output by the Liquid tags you’ve provided.

If the values are malformed or blank, it’s likely that you have a syntax error in your Liquid tag. If the values match what you expect, you can remove the testing snippet, save the updated Additional scripts content, and you’re all set!
Update: An alternative method I learned from a colleague:
Instead of using the approach above, you can use the following snippet to limit the scripts / pixel you want to test firing only when accessed with a specific customer (your test order email, etc.).
Testing native Facebook + Google Analytics events: The exception to the above is when you want to verify purchase events fired by either the native Shopify Google Analytics Ecommerce integration or the native Shopify Facebook Pixel integration.
Because those conversion pixels are fired outside of what’s editable in the Additional scripts section of checkout, you’ll need to make a live test order to confirm.
BTW, to get the most mileage out of your live test order, be sure that you have the Facebook Pixel Helper and Google Analytics Debugger Chrome extensions installed + activated before placing your test order.
Further reading
If you’ve made it to the end of this post, you might also enjoy my other article on Intermediate-level Google Analytics instrumentation + reporting.